Chapter 3: Using the App for Installation
Download the App
To set up the AmpliFi Router using the AmpliFi app, follow these steps:
- Download and install the AmpliFi app from the App Store® or Google Play™.


- Launch the AmpliFi app.
|
|
Note: Ensure that Bluetooth and Wi‑Fi are enabled. |
Router Installation
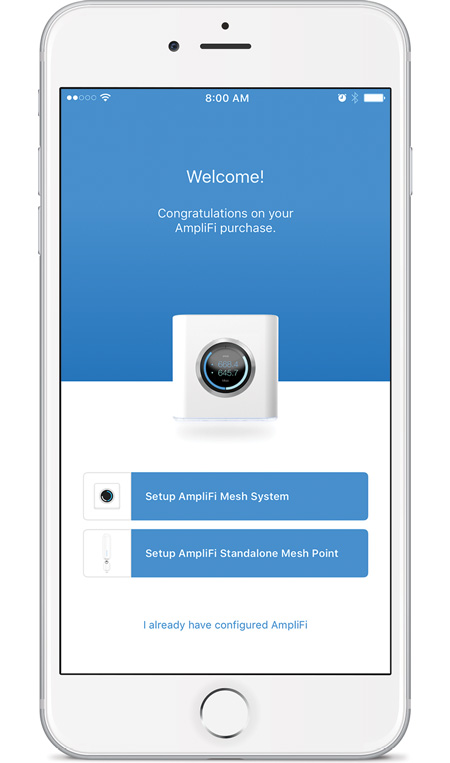
- Tap Set Up AmpliFi Mesh System.
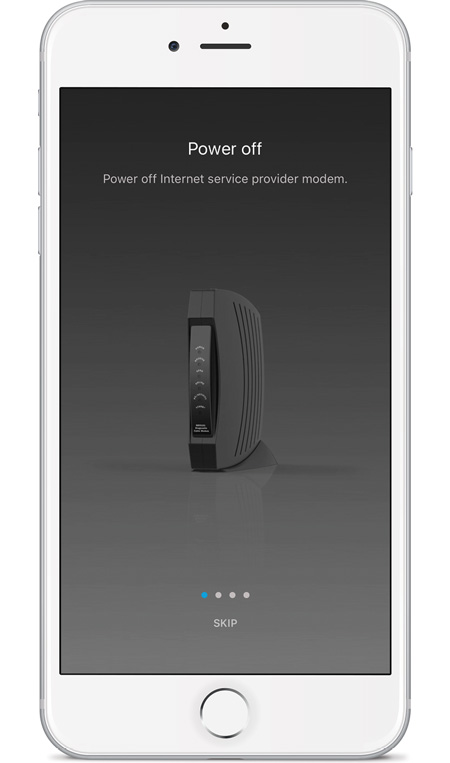
- Tap Skip to bypass the hardware setup instructions (which were performed in the previous section).
- Tap the AmpliFi Router.
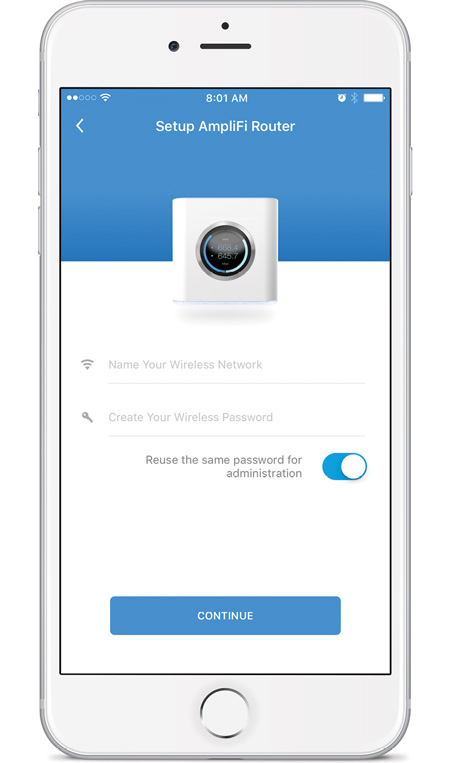
- Name your wireless network and create a wireless password. Then tap Continue.
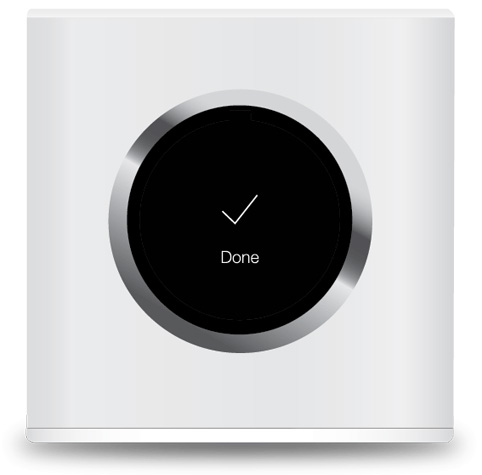
- The Router will emit a sound, indicating that the configuration is complete.
- From your phone or mobile device, join the wireless network you created. Tap Continue.

- To enable Remote Access to your AmpliFi system, sign in with one of your accounts to enable access. Otherwise, tap Skip.
- You will see the status on the System tab. Tap on a device for configuration options or tabs at the bottom.
Accessing Another AmpliFi Router
The app accesses one AmpliFi Router at a time. If you want to set up or access a different Router, perform these steps:
- Tap the
 icon in the upper left of the app to access the side menu.
 - Tap Switch AmpliFi.
- When the Welcome screen appears, you will see three options:
- Set Up AmpliFi Mesh System
- Set Up AmpliFi Standalone MeshPoint
- I already have configured AmpliFi
Proceed to the section below that corresponds with your selection.
Set Up AmpliFi Mesh System
This option allows you to set up and configure a new AmpliFi Router. Tap Set Up AmpliFi Mesh System and repeat steps 3-8 from "Router Installation".
Set Up AmpliFi Standalone MeshPoint
This option allows you to set up a standalone MeshPoint and add it to an existing Wi‑Fi network.
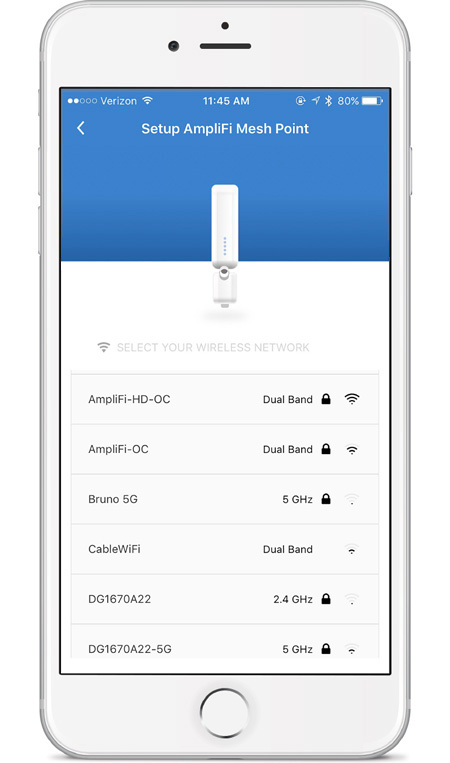
- Select the device that needs to be configured (if more than one MeshPoint is being installed).
- The app will display a list of available Wi‑Fi networks. Select the network associated with your Router.
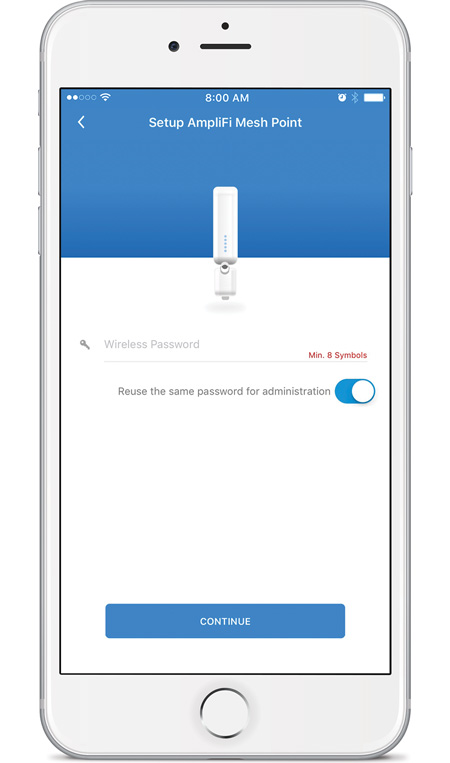
- Enter the password associated with the wireless network and tap Continue.
- The System screen in the app will appear and show the MeshPoint connected.
I Already Have Configured AmpliFi
This option allows you to log into an existing AmpliFi Router.
- Tap I already have configured AmpliFi.
- Tap the AmpliFi Router you wish to log in to.
- You will see the status on the System tab. Tap on a device for configuration options or tabs at the bottom.
Additional MeshPoint Installation
Launch the app and follow the instructions for the Router you are connecting to.
|
|
Note: Ensure that Bluetooth is enabled on your smartphone. |
Connecting to an AmpliFi Router
- If your AmpliFi Router is already up and running, once you launch the app the new MeshPoint should be displayed. Tap Add to Network.
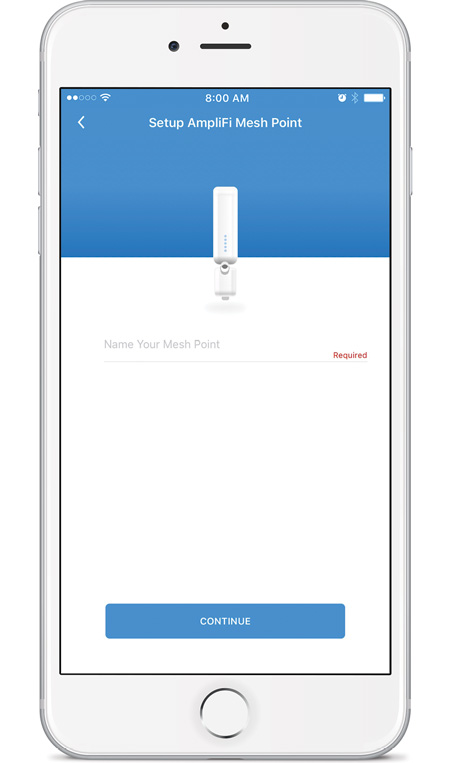
- Create a name for your MeshPoint. Tap Continue.
- After about a minute, the LEDs on the MeshPoint will reflect signal strength once connected to the Router. The System screen in the app will appear and show the MeshPoint connected.
Connect to a Third-Party Router
- Select the device that needs to be configured (if more than one MeshPoint is being installed).
- The app will display a list of available Wi‑Fi networks. Select the network associated with your Router.
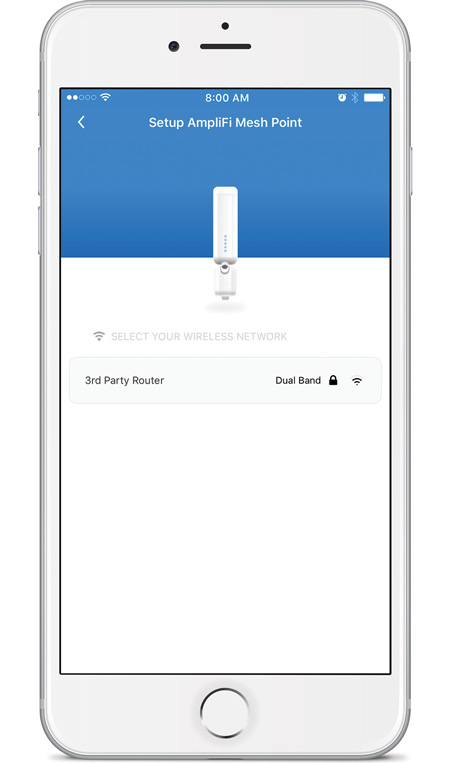
- Enter the password associated with the wireless network and tap Continue.
- After about a minute, LEDs will reflect signal strength once the MeshPoint is connected to the Router.
|
|
Note: If you want to use WPS (Wi‑Fi Protected Setup), enable WPS on LCD in the Router Settings. |